
[vc_row][vc_column width=”1/3″][dt_fancy_image type=”image” image=”http://www.kaufmanhomesinc.com/wp-content/uploads/kaufman-homes-laurel-springs-remodel-granite2.jpg” image_alt=”Laurel Springs Remodel Countertops” lightbox=”true” style=”1″ width=”270″ padding=”10″ margin_top=”0″ margin_bottom=”0″ margin_left=”0″ margin_right=”0″ align=”left” animation=”none”][dt_gap height=”20″][/vc_column][vc_column width=”2/3″][vc_column_text]
Laurel Springs Remodel: Granite and Other Loose Ends
We have finally installed the last of the kitchen and family room cabinets and put the finishing wood touches to the cabinets and ceiling areas in each room with 3 ½” crown molding with all cherry crown in the kitchen and painted crown in all the non-cabinet ceiling areas in the family room.[/vc_column_text][dt_gap height=”10″][vc_row_inner][vc_column_inner width=”1/1″][dt_fancy_image type=”image” image=”http://www.kaufmanhomesinc.com/wp-content/uploads/kaufman-homes-laurel-springs-remodel-granite.jpg” image_alt=”Installing Granite” lightbox=”true” style=”1″ width=”270″ padding=”10″ margin_top=”0″ margin_bottom=”0″ margin_left=”0″ margin_right=”0″ align=”left” animation=”none”][dt_gap height=”10″][/vc_column_inner][/vc_row_inner][vc_column_text]
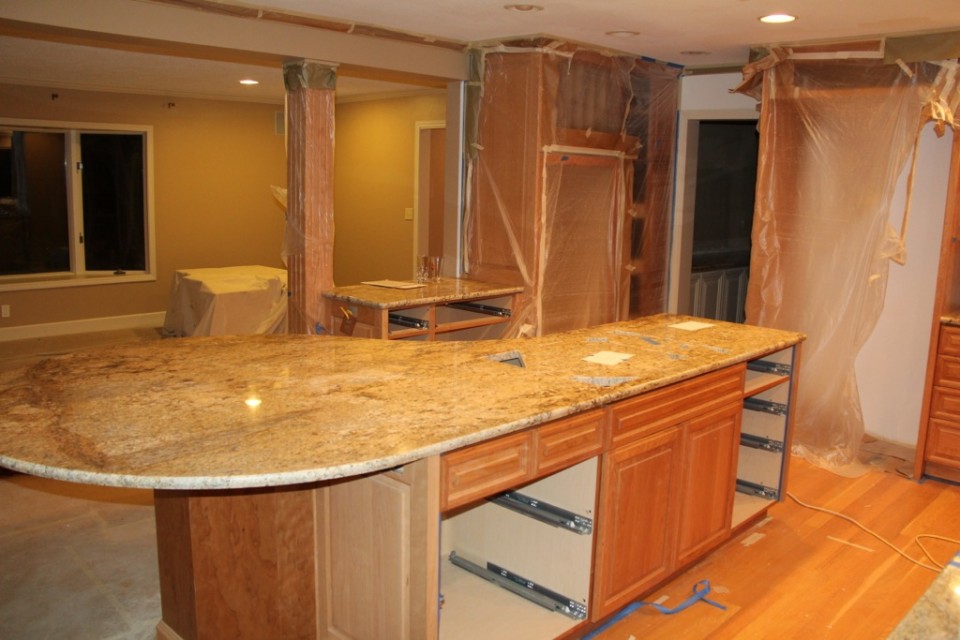
Installing the granite
The granite supplier has measured for the countertops in the: Kitchen and island area, the utility sink counter, utility bath counter, downstairs bath and dining room hutch cabinet. The installation date was set for 2 ½ weeks after measuring. Prior to measuring, all the under-mount sinks and faucets had to be on site so the granite company could take them back to their plant and use as templates to cut the sink holes perfectly. The island cabinet has a ¼” steel plate in the round eating bar to give it added support. To cut this steel plate, in the round shape of the island area, the granite installer used a water jet cutter to make a perfect round shape.
Before the granite is installed, the sinks they took with to use as templates, will be placed onto the cabinet frame top held in place by a special under-mount bracket which will, if ever needed, allow the sink to be dropped down and removed from under the granite. The kitchen sink is composite made out of a very durable material, with a color that matches well with the granite.
Cleaning up the loose ends
As per schedule our painter is finishing all the painted wood work in the living room, dining room, kitchen, utility room as well as lacquering the remaining cherry cabinets that could not be finished off site.
While waiting for the painting and granite to be done we are re-doing the master counter cabinet, by putting in a new cherry cabinet, silestone counter (a composite counter made up of granite pieces and special polymers), new sinks/faucets, tile backsplash and a new mirror.
While the master counter is being worked on the family is sharing the kid’s upstairs bath, which was completely remodeled during phase 1.
As we proceed towards the finish of the remodel, we can now visually see the fruits of the combined efforts of the customer, builder and the decorator, updating the home to the owners evolving needs to a more open and modernized living experience. The customer intends to stay in this home for a long time so they did not want the remodel to seem as though new areas were created around the old rather they wanted the new to blend with the initial intent and ambience of this older home.
Combining old and new color schemes
The decorating color schemes had to start with the existing oak hardwood floor colors to select counters and cabinets and paint colors to help pull everything into cohesiveness. Trim color had to be a match for the tan colored vinyl windows and yet had to compliment with the floors, cabinets, and granite. The final link was the wall color selections as they connected to the floors, cabinets, trim color and granite counters.
Great decorating success has been achieved when the eyes do not fixate on any one thing, color or texture rather it all flows and functions as one entity.
Putting it all together
The first phase of the remodel included a large outdoor covered living area that is now becoming a part of the new inside living experience. You can stand in the family room look on through a new wider opening to the kitchen and right out to outside living area with nice furniture and a cozy looking gas fireplace all with colors that blend well with the inside.
The fourth phase will take the remodel closer to the finish line as we install granite, sinks, electrical trim, install cabinet knobs, refinish the old and new hardwood floors, install base shoe after the floors are done, install appliances, new mirrors in the upstairs master bath and over the dining hutch and finally do the cleaning of the new spaces readying for customer move in.
Watch for the narration of the 4th phase as the process unfolds!
If you want to catch up with the rest of the posts about this remodel click here.[/vc_column_text][dt_gap height=”10″][/vc_column][/vc_row]